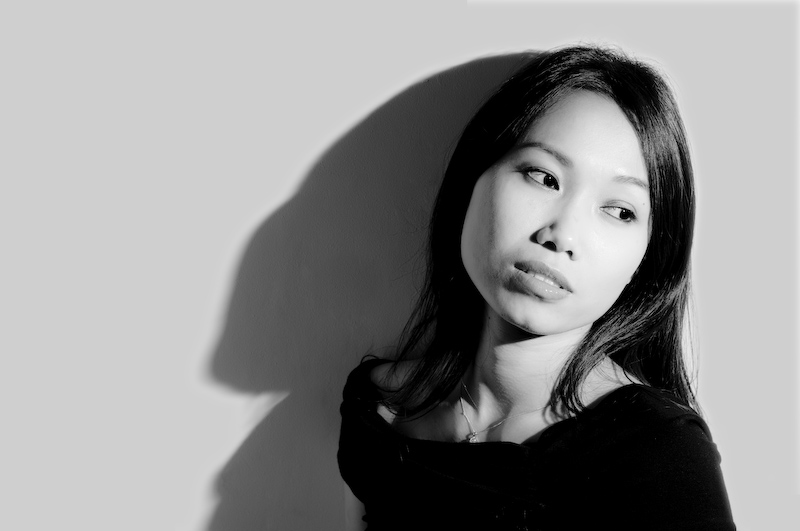
Introduction to flash lighting in digital photography
The use of portable flashguns
Quoc-Huy NGUYEN DINH
www.qhphotography.com
Introduction
- The basics of flash photography techniques
- Why learn lighting with flashguns?
- How to effectively learn it.
- What do I need / not need?
- About the light
- Cases study: single flash portrait, two flashes portrait, use of color gel
Learn to light better
Why should I learn to light?
- To complement the natural light when it there is not enough or it is not good.
- To reduce the highlight/shadows contrast using fill-in flash.
- To create a mood or an effect in a location and reproduce it at will.
- To separate the subject from the background with separate exposure control.
What is the benefit of flashguns?
- Flashguns are small and light thus easy to carry along on location.
- There is no need for heavy battery pack, generator or power cables.
- What you learn with small flashguns also applies to big studio flashes.
- Flashguns can be cheap but still effectives.
- Would you buy and bring on location 4 studio flashes along with their accessories?
How to learn effectively?
- Make up your mind and loose the thought that learning flash is difficult: it is not!
- Regular practice is the key to all learning process.
- Learn step by step, technique by technique and build up your skills.
- Master one technique before going to the next.
- Use and re-use tricks you've learned.
- If you already have a camera and a flashgun then you've already bought the expensive part.
What do I need to start?
- Flashguns with manual control of the flash output power
- Compact lightstand
- Umbrellas and umbrella swivels
- Light modifiers: snoots, grids, gobos, color gels...
- Good batteries
- Some way to remotely trigger the flashgun: TTL cable, PC Sync cord, infra-red/radio trigger
- You do not need to spend a lot
- You do not need to have a lightmeter
About the light
3 points to know about a light
- Its direction: is it coming from the front, the left or from above?
- Its color: is it warm or cold, orange or blue?
- Its quality: is it harsh(hard) and specular or soft and diffuse?
On camera / off camera flash
- The camera's popup flash: handy, can be use for fill-in, small, harsh light, not suitable for close up, not flattering, can trigger external slave flashes.
- On camera external flash: bigger, more powerful, harsh light, can bounce off the ceiling/wall to soften.
- Off camera flash: great flexibility, can create more natural light then on camera flash.
How to control my flash?
- On camera, bouncing from big surfaces.
- Off camera remotely by using a TTL cord, a PC sync cord, Nikon CLS, an IR or radio triggering system.
- Automatic flash power control with TTL, eTTL, iTTL: great for fast pace shooting but dependent on the camera and flash technology and it is not 100% reliable.
- Manual flash power control: full control and not dependent on the technology, also appliable to studio strobes.
Getting a better light
Tips for getting better light
- More does not mean better.
- Sometimes less is more. Try to light part of the picture only.
- Select soft or hard light depending on the subject.
- Get your flash off camera.
- Try different angles, positions and orientations.
Go off camera!
- In real life, how many times have you been talking to someone lit from the front?
- Get you flash off camera for more natural look to your light and photos.
- Having it off camera means you can set your flash almost anywhere pointing to any direction: control + flexibility.
What makes a light hard or soft?
- The sun is a very big object, any how for us it produces harsh light.
- A cloudy day produces soft light.
- When used to light an human face, the light from a flashgun is hard
- When used to light an insect and close to it, the light from a flash gun is soft.
- So what makes a light hard or soft? One answer: the apparent size of the light source.
Control of quality of light
Modifying/Enhancing the light
- The closer the bigger, the bigger the softer.
- The closer the light, the faster it falls off.
- Use reflectors
- Bounce off large surfaces
- Shoot thru large neutral fabrics: umbrellas, diffusing panels...
Flash diffusers

Using diffusers
- They spread the flash light to all directions bouncing it off all surrounding surfaces
- Do diffusers soften the light of a flashgun? Yes and no... depending on the location.
- Quite useful on a on camera flash used to master remote flashes.
- Expensive for a piece of plastic: go DIY!
Bouncing off large surfaces
- Bouncing off a ceiling, a wall or any other large white surface do soften the light.
- The light is picking the color of the surface it is bouncing off from.
- You cannot bounce the light on every location.
- But there is always something to bounce the flash off from.
- You are restricted on the location & angle
Shooting thru diffusing fabrics
- Shoot through umbrellas & reflective umbrellas are very effective, compact and portative ligth softners.
- White bed sheets, are more economical and can be folded and packed in your bag. They also produce a much larger light and are thus softer.
Harsh light is nice when used properly
Balancing flash and ambiance
Two separate exposures control
- There is a max shutter speed at which the entire image sensor can be exposed by flash pulse. It is called the flash sync speed and its value depends of the camera and usually is around 1/250 sec.
- The flash pulse is faster the the flash sync speed. Making the flash exposure insensitive to any useable shutter speed. Only the aperture affect the flash exposure.
- To expose the flash lit subject adjust the aperture.
- To expose the ambiance lit areas adjust the shutter speed. In some case you need to adjust the aperture, compensate the flash exposure by adjusting the flash power or distance.
- Adjusting the ISO will affect both flash and ambiance exposure.
How to balance indoors?
- Start at let say 1/100 sec @ f/8 with flash @ 1/8 power, take a picture, chimp and check your histogram.
- Adjust the aperture until you get the proper exposure for your subject (lit by the flash).
- Adjust the shutter speed to darken or brighten the ambiance.
- If you need to go faster to darken and are already at 1/250 sec, close your aperture and dial up the power of your flash of the same amount.
- You may need to use a very slow shutter speed in order to get a decent exposure for the ambiance. Be aware of the risk of shake blur. A tripod or stabilized lens can help a lot!
How to balance outdoors?
- Start at your max flash sync speed (1/250 sec) @ f/1.8 @ 1/8 flash power ISO 200, take a picture, chimp and check the histogram.
- Adjust the shutter speed and/or aperture to get the proper ambiance exposure.
- Adjust the flash power to get the proper exposure for the subject lit by the flash.
Improve your technique
Tips to improve your technique
- Keep a lighting file. Take note of all your work and note down settings that resulted with nice pics.
- Know your flash. Practice and learn the capabilities of your flash. No rush for quantity, get quality with regular practice.
- See the flash. Learn how to pre-visualize your flash effects. You already know how to!
- Be the flash. Stay where your flash is standing to predict area lit by its light.
- Reverse engineering. Learn how to analyze lighting technique of other photographers.